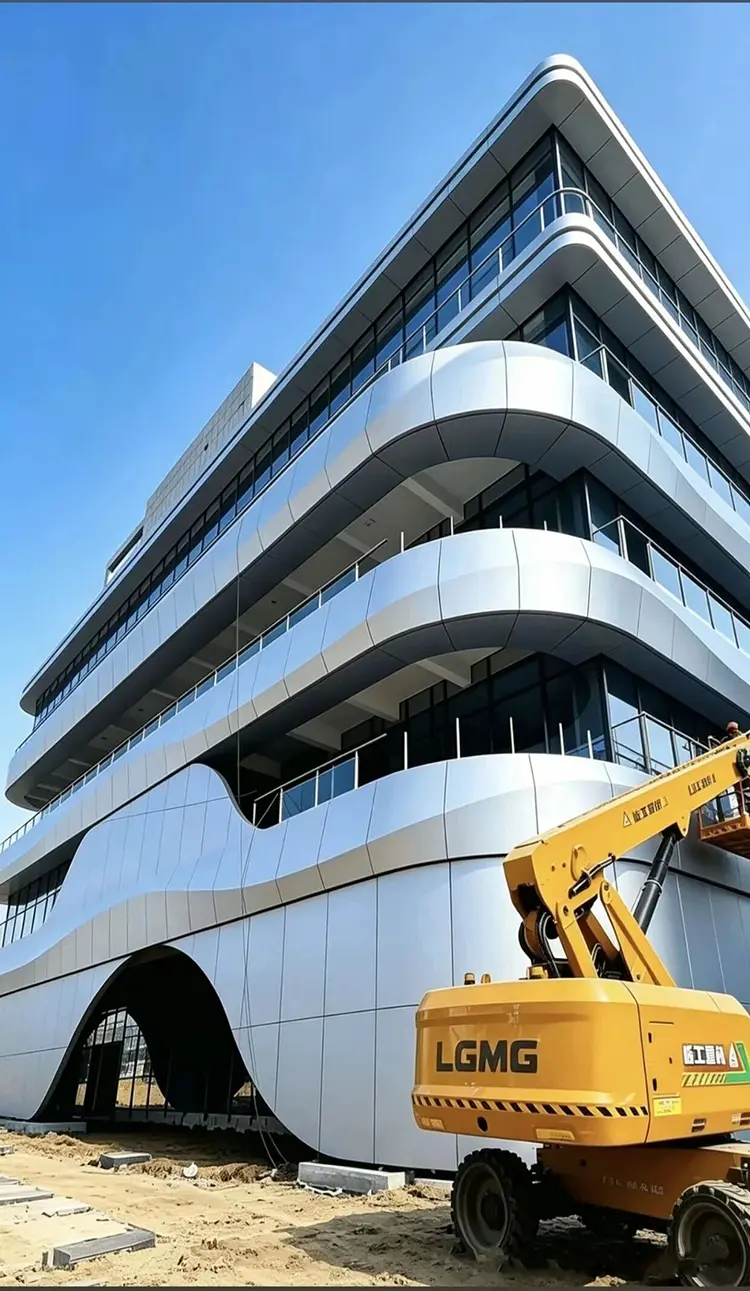
Custom aluminum column covers are formed metal skins that enclose a structural column or a decorative support. A cover can change the visible shape of a column, hide uneven surfaces and connect its finish to the surrounding walls or ceiling. It does not replace the structural column or its required fire protection.
Before asking for a price, settle four things: the finished outside size, the space needed inside, where the sections join, and how they go on and come off. A note saying “round column, 500 mm diameter” leaves too much open. Is that the concrete diameter, the clear opening inside the cover, or the finished outside face?
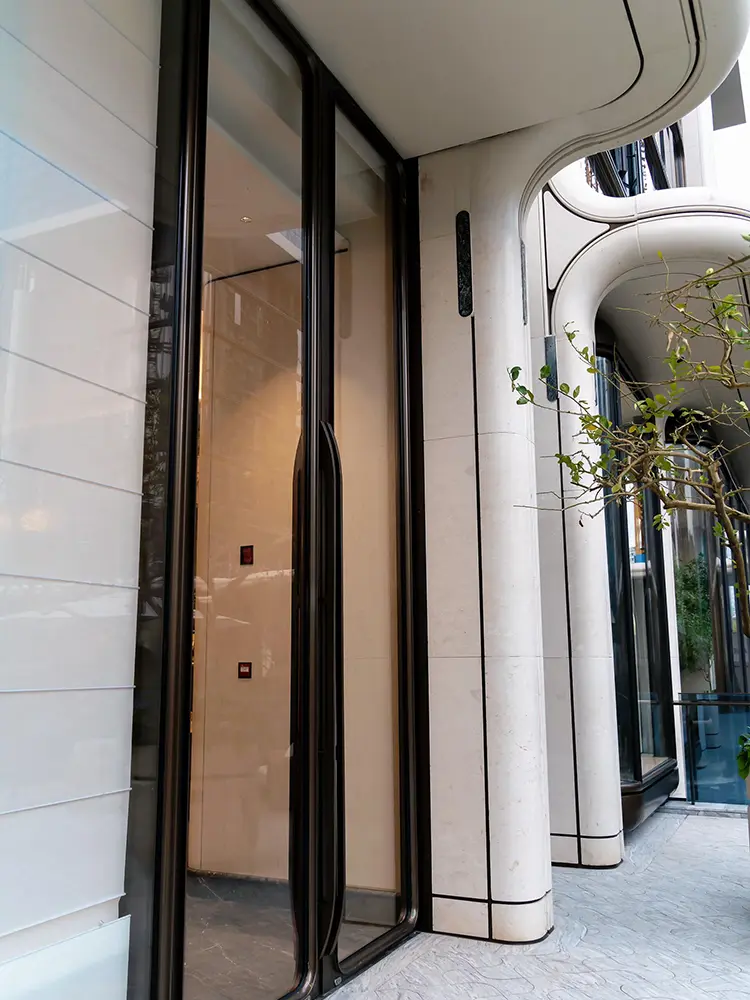
How to measure aluminum column covers without ordering the wrong size
Keep three outlines separate on the cross-section drawing:
- The obstruction outline: everything the cover must fit around, including the actual column, base plate, approved fireproofing and any services that must remain.
- The usable inside opening: the space left after allowing for inward-facing returns, brackets, clips and other parts of the cover assembly.
- The finished outside face: the diameter or width the architect wants people to see.
These outlines are not interchangeable. A panel may have the correct outside diameter but still clash with a bolt head or a folded edge inside it.
Measure near the bottom, middle and top, recording offsets from a fixed project reference line. Check both directions on rectangular columns. A column that leans slightly can require more space on one side even when its diameter stays the same. If fireproofing or services are not installed yet, mark the dimensions as provisional and agree who will release the final measurements.
A round cover around a square column needs extra room
Consider a hypothetical 400 x 400 mm square obstruction. Its corner-to-corner dimension is:
Square diagonal = 400 x square root of 2 = approximately 566 mm.
A round cover therefore needs more than 566 mm of usable internal diameter once installation clearance is included. Its finished outside diameter will be larger again after allowing for the panel assembly. A 400 mm diameter cover cannot fit over it.
That is a geometry example, not a recommended cover size. The required clearance depends on the real supports, adjustment, movement and installation method. Draw the full section rather than adding an arbitrary gap to the column size.
For a round enclosure, also label whether the radius refers to the inside or outside face. The separate curved aluminum cladding guide explains the forming and radius questions to resolve with the fabricator.
Round or square, two sections or four?
Choose the shape together with the installation route. Round aluminum column cladding gives a continuous curved face between its seams. Square aluminum column covers provide flat faces that can line up with walls, doors and ceiling grids. Neither shape removes the need for joints and attachment space.
For an existing column, ask how the enclosure will wrap around it. Two half-shells, separate faces or other split arrangements may be workable, depending on the design. A completely closed sleeve cannot simply slide over a column trapped between a floor and a slab.
The number of pieces is also a handling decision. Check the largest section against delivery doors, lift dimensions, turning space and the position where the installer will stand. A panel that fits the column but cannot reach it is still the wrong panel.
Full-height sections reduce horizontal breaks, but can be harder to protect, move and replace. Dividing a tall cover into shorter sections introduces another visible joint. It may also let the owner replace a damaged lower section, if the fixing arrangement genuinely allows that section to come out on its own. Agree this before choosing the joint height.
Choose the joint by appearance and maintenance needs
“Concealed fixing” describes the visibility of the fasteners. It does not tell you how wide the seam is, whether water can pass through it or whether the cover is removable.
Manufacturers offer different approaches. For example, Custom aluminum column cover reference distinguishes close-seam, sealant-joint and channel-reveal arrangements. Those are useful design categories, not interchangeable installation systems.
| Joint approach | Why a buyer might choose it | What to settle before approval |
|---|---|---|
| Close seam or hairline joint | A narrow visual break where the faces are carefully aligned | Expected seam appearance, alignment tolerance and assembly sequence. A hairline joint is not an invisible seam. |
| Recessed reveal or cover channel | A deliberate shadow line that becomes part of the design | Reveal width and depth, backing or filler detail, color, fastener access and whether adjacent sections can be removed independently. |
| Sealed joint | A joint designed to receive a specified sealant | Joint geometry, compatible materials, preparation and future sealant replacement. The complete enclosure still needs the relevant weather detail. |
For exterior work, ask the project designer to define where water is managed and how movement is accommodated. Do not infer that a narrow joint is watertight or that adding sealant fixes an incomplete enclosure detail. Custom aluminum column cover reference also treats attachment and thermal movement as design responsibilities, not just finish choices.
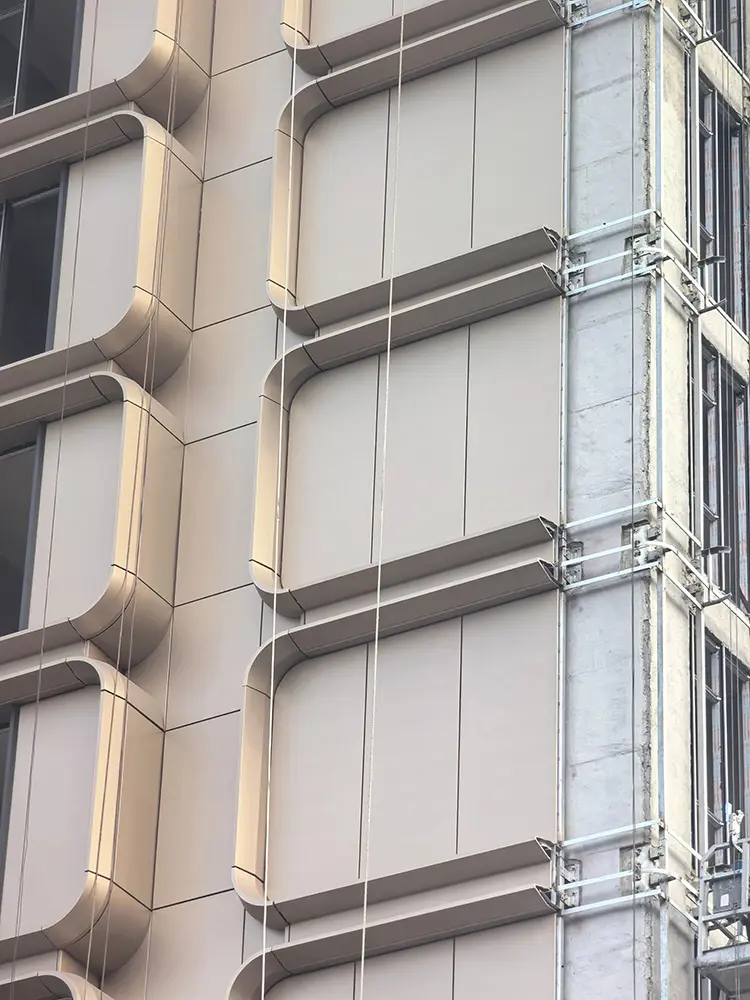
Look at joint positions from the main approach to the building. A seam hidden in a plan view can sit directly in front of someone entering through the doors. Where covers continue beside glazing, coordinate horizontal breaks with nearby frame lines instead of setting each trade’s joints independently.
Prove that access will work after the room is finished
If valves, wiring or inspection points sit behind a cover, specify access as a requirement. Do not leave it as an assumption attached to the word “removable.” Custom aluminum column cover reference distinguishes attachment options and notes that some arrangements are permanent.
A useful review question is: what has to move first? If a panel must lift to disengage its fixing, there must still be room to lift it after the ceiling collar is installed. If one face must slide sideways, a neighboring wall or door frame must not block that movement.
Ask for the removal sequence on the drawing, including the tool access and any trim or sealant that must be removed first. Where future access is important, demonstrate the intended operation in a representative mock-up with the surrounding finishes present. Removing a panel from an open workshop assembly is not the same test.
For a busy lobby, a replaceable lower section can be worth more than one uninterrupted surface. It gives the owner a defined repair area after cleaning equipment or luggage damages the finish. It should not be described as an impact barrier or vehicle-protection system.
Resolve the floor, ceiling and finish together
State the cover height from finished floor level, not an unfinished slab that will later receive screed, tile or stone. Show the top termination against the actual ceiling or soffit level. Include base trims, shadow gaps and visible closures in the drawing and quotation.
Check the following at these junctions:
- Will the base hide a plate or fixing that projects beyond the column above it?
- Will floor cleaning expose an unprotected edge or trap water in the proposed detail?
- Does the top trim cover the intended gap without blocking removal?
- Do nearby doors, switches or grilles need space that the finished cover will occupy?
Keep required structural fire protection intact. The project team must approve any attachment that could affect it; a decorative aluminum skin is not evidence of a fire-resistance rating.
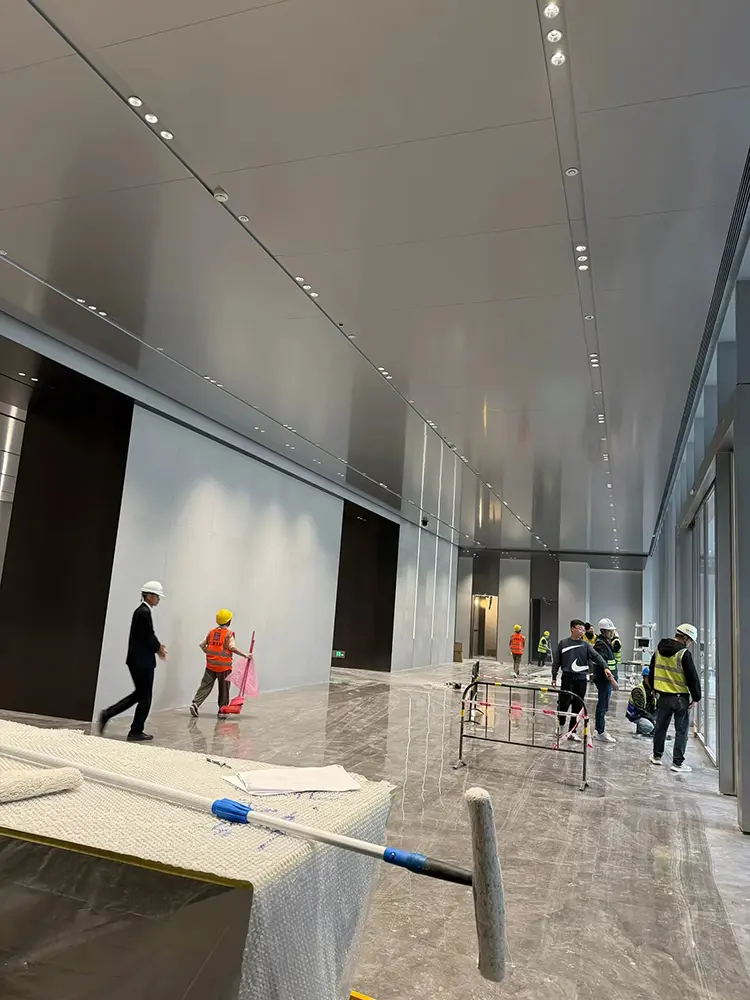
A flat color chip is useful for choosing a color, but it does not show the entire appearance of a finished cover. For a prominent column, review a formed sample with a corner or curved face and a representative joint. Look at it under the intended lighting, including light that runs along the surface and makes uneven reflections easier to see.
For metallic or directional finishes, agree the orientation of adjoining panels. For visible welded corners, agree what the corner should look like after finishing. Exterior coating requirements should follow the exposure and project specification; an indoor sample does not establish outdoor suitability or a warranty.
What to approve with the factory before production
A factory discussion becomes useful when it produces something the installer can check. For a Likton enquiry, start with the column schedule, a measured section and photos of the surrounding finishes. That gives the drawing review a clear job: resolve the panel division, folded returns, fixing space and coating requirements before the order is released.
Ask for three coordinated approval items:
A dimensioned assembly drawing. It should identify the outside face, internal obstructions, each section, joint locations and the proposed attachment. Name the party responsible for site dimensions and the party responsible for engineering approval. A fabrication drawing does not automatically provide structural approval.
A representative fit and finish check. Where the design is unfamiliar or visually sensitive, agree a trial assembly or sample that includes the difficult junction. Two separate curved samples cannot demonstrate how their seam will meet. Record the accepted appearance and agreed dimensions so inspection does not depend on memory.
A packing and identification plan. Match panel IDs to column locations, levels and drawing revisions. Keep mating sections identifiable. Protect finished faces, edges and projecting returns so parts do not rub together during transport. Agree how a later replacement section would be identified.
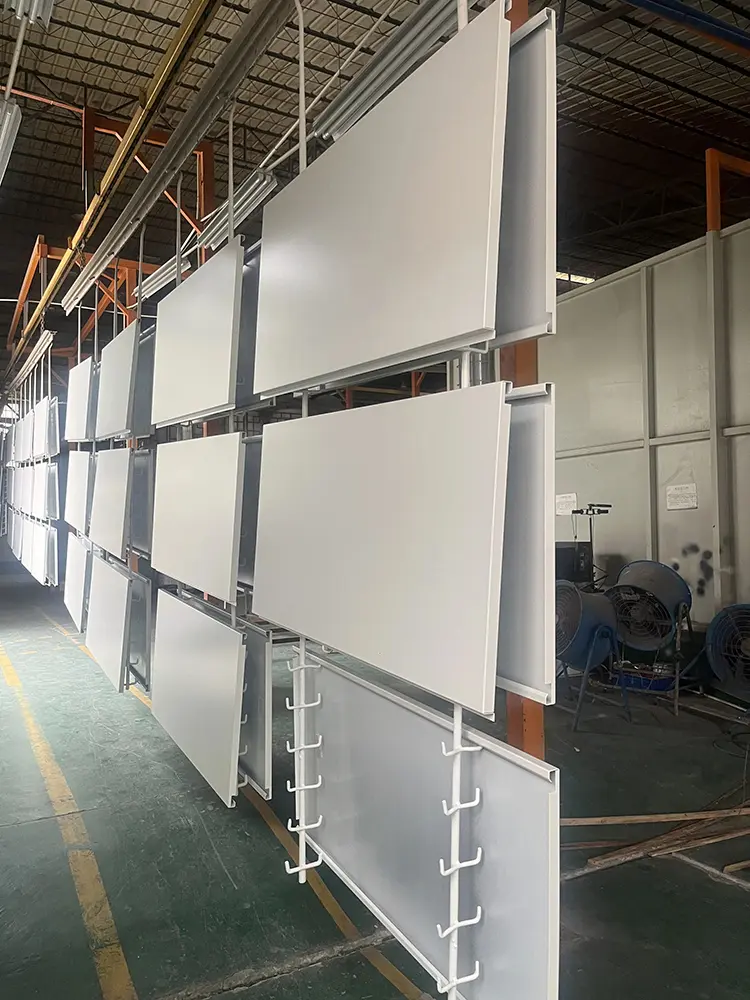
This is where factory capability matters: turning the agreed shape into clearly identified parts that fit the approved detail. The Likton manufacturer guide covers the broader drawing, fabrication and inspection questions. For the column order itself, keep the agreed scope and acceptance points in the project documents.
Compare the price for a complete column, not just a square metre
Two quotations with the same exposed area can include very different work. One may cover only the face panels. Another may include formed ends, welded corners, support components, top and bottom trims, an access section, a trial assembly and protective packing.
Ask for a price by column type and complete assembly, with inclusions and exclusions. Keep installation, site measurement, engineering, freight and taxes clearly allocated. A price per square metre can still be useful, but only after both suppliers are pricing the same scope.
Complexity is often concentrated in a few places: a small radius, a welded junction, a visible base detail or a removable section. Identify those items rather than asking for one unexplained discount across the order. The custom welded aluminum panel pricing guide explains why welding, finishing and handling can change the cost beyond raw sheet area.
Questions buyers ask
Can a round aluminum cover go around a square concrete column?
Yes, if its usable internal opening clears the square column’s corners and all other obstructions. Calculate from the diagonal, not the side width, then resolve brackets, clearances and panel thickness in the assembly drawing.
Which diameter should I send to the manufacturer?
Send both the measured obstruction dimensions and the required finished outside diameter. Label them clearly. Include a cross-section showing services, base plates and finishes so the factory is not left to guess the available space.
Can column covers look seamless?
A close seam can be visually restrained, but that is different from having no seam. Request a sample showing the intended joint under realistic lighting. Factory-prefinished sections should not be ordered on a promise that every joint will disappear.
Are concealed-fixing covers always removable?
No. Removal depends on the fixing mechanism, the assembly sequence and the space available after adjacent finishes are complete. Specify which section must be accessible and ask for its removal procedure.
Can the same cover design be used indoors and outdoors?
Do not assume so. Exterior use adds project-specific exposure, water-management, movement and attachment requirements. Confirm the complete assembly and coating for the location, rather than approving it from the appearance of an indoor sample.
Is a thicker panel always the better purchase?
No. Thickness is one part of the design, alongside shape, unsupported face size, returns, supports and handling. Ask how the proposed assembly meets the project’s appearance and engineering requirements. Comparing thickness alone can hide a poorly resolved joint or attachment.
Send these details for a useful quotation
| Information | What to include |
|---|---|
| Column schedule | Quantity of each type, location, level and identifying number |
| Site measurements | Obstruction dimensions at several heights, offsets, protrusions and measurement status |
| Finished shape | Round, square or another section; clearly labeled outside dimensions and cover height |
| Panel division | Proposed vertical seams, horizontal breaks and largest permitted handling size |
| Surrounding finishes | Floor, ceiling, door and wall details, plus photographs of restricted areas |
| Access requirement | What must be reached, which section must come off and the available removal space |
| Finish and approval | Color reference, exposure, formed-sample requirement and project performance documents |
| Supply scope | Panels, supports, fixings, trims, samples, packing and responsibility for site work or engineering |
| Delivery conditions | Destination, handling route, delivery sequence and required replacement parts |
Send the schedule, section drawing and site photos to Likton for a project review. Mark unresolved dimensions rather than disguising them as final sizes. A useful quotation should make those open points visible before they become fabricated parts.