
Comparing clip-in vs lay-in metal ceiling systems? Start with what happens after installation. If the ceiling will be opened regularly and a visible grid is acceptable, a conventional lay-in system is a practical starting point. If the design calls for a concealed grid, consider clip-in, but approve how the actual panel is removed and refitted before ordering.
Neither system wins on every project. A removable tile is not necessarily easy to remove beneath a crowded service void, and two tiles sold as 600 x 600 mm are not necessarily interchangeable. The useful comparison is the complete panel-and-support system, not the face pattern alone.
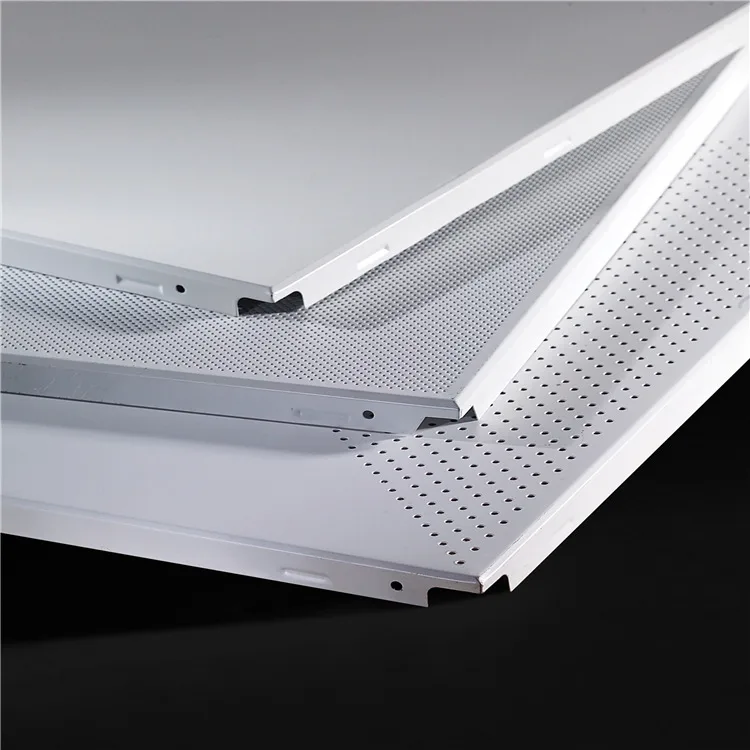
Clip-in vs lay-in metal ceilings: the practical difference
In a conventional lay-in metal ceiling, tiles rest on an exposed T-shaped grid. A square-edge tile and a recessed, or tegular, tile can give different finished appearances even when their ceiling modules match.
In a typical clip-in metal ceiling, the panel edges engage a compatible concealed carrier. The grid is hidden, but panel joints remain. Clip-in is not a general name for every concealed ceiling: hook-on, clip-on and torsion-spring products can use different supports and removal methods.
| Buying question | Conventional lay-in | Clip-in with a concealed carrier |
|---|---|---|
| What will be visible? | The grid remains part of the ceiling pattern. Check its finish as well as the tiles. | Panel faces and joints dominate. Check joint consistency in an assembled sample. |
| How do staff reach services? | Usually by lifting and tilting a tile through its opening. Verify clearance and any retention devices. | By the specified release method. Check tool requirements, removal direction and whether neighboring tiles are involved. |
| What must match? | Tile edge, actual tile size and the specified T-grid profile. | Panel edge geometry, carrier and any required clips or accessories. |
| What should the sample prove? | The tile sits correctly and can be removed at a representative access location. | The tile engages securely, releases as intended and refits without visible damage. |
| What is the purchasing trap? | Assuming every nominally similar tile fits the existing grid. | Buying attractive panels without the matching support and removal details. |
Manufacturer examples show why the exact system matters. Armstrong lists square-edge and tegular metal lay-in options for specified 15 mm or 24 mm T-grids. Those are product-specific combinations, not permission to mix any tile and grid bearing similar dimensions. See its Metal ceiling installation reference.
Choose around the maintenance route, not just the room name
An office, school or corridor can suit either system. The more useful questions are what needs servicing, where it sits and how the technician reaches it.
For regularly accessed valves, controls or cable routes, mark the access locations on the ceiling layout before comparing suppliers. A tile that lifts freely in the middle of a demonstration grid may be blocked by a duct on site. A downward-removable design may avoid that particular obstruction, but it still needs enough space for its supports, fittings and release movement.
Do not reject clip-in solely because it is concealed. Armstrong’s clip-in instructions describe panels released downward using a removal tool. That establishes that concealed access is possible for that system; it does not establish the tool or clearance needed for another manufacturer’s product. See the Metal ceiling installation reference.
Before approval, ask the installer and supplier to demonstrate a representative section: use the proposed panel, support, backing and nearby service obstruction. Remove the intended access tile, reach the service location, then refit it. Check whether the face is marked, the joints return to alignment and the maintenance team can repeat the procedure.
A successful demonstration should become part of the handover information: panel code, release method, tool where needed and any restricted access positions. A loose color sample cannot answer these questions.
Why two 600 x 600 tiles may not fit the same ceiling
The nominal module describes the ceiling layout. It does not, on its own, specify the finished pan dimensions or the shape of the folded edge.
For a replacement order, collect more than a ruler measurement across the visible face. Photograph a removed tile from the front, back and side; record the grid or carrier marking; and obtain the original system details if available. Have a qualified installer handle removal where the system is unknown.
Ask the proposed supplier to confirm four things in writing:
- Module and finished tile dimensions. Keep both on the drawing; do not replace one with the other.
- The complete edge section. Include the return height, recess or engagement detail and any directional edges.
- The named support. Specify the grid profile or concealed carrier, not simply “standard ceiling support.”
- Sample compatibility. Test the proposed tile in the actual support before approving a replacement batch.
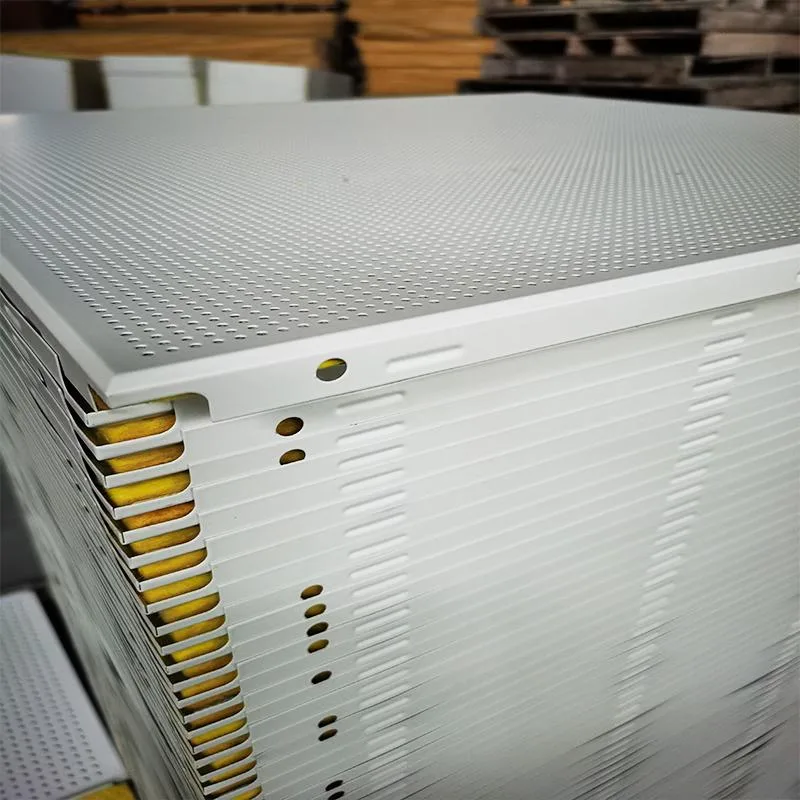
For a new ceiling, assigning responsibility for the panel-and-support combination to one supplier is easier to verify than purchasing the two independently. For a refurbishment, do not assume retaining the old grid is economical until its condition and compatibility have been checked.
Resolve borders and lights before counting standard tiles
The middle of the ceiling is usually the simplest part to price. Walls, columns, changes in direction and services create the exceptions.
A cut border is not automatically equivalent to a factory-edged tile. Ask for the approved perimeter detail: how the cut side is supported or retained, what trim hides the cut, and whether that panel can still be removed. Identify very narrow borders on the layout before the order is released. Cutting away an engagement edge and hoping it behaves like the original is not a specification.
A light fitting that fills one module still needs a support decision. Put lights, diffusers, access panels and other openings on the same coordinated ceiling plan. Identify who supplies the supports and who checks the finished face alignment. Do not assume a metal tile can carry an added fitting simply because it feels rigid. Armstrong’s general metal ceiling instructions, for example, require independent support for mechanical services unless otherwise approved. Follow the selected system’s documentation and the project designer’s requirements. Metal ceiling installation reference.
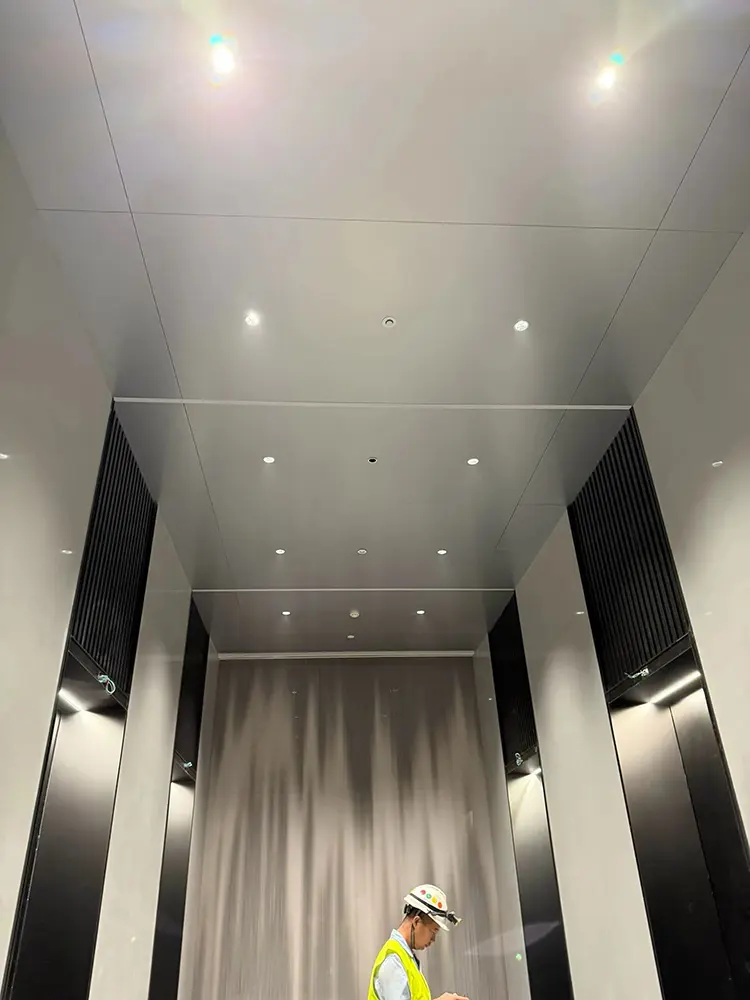
On a quotation, separate full tiles, border tiles, service openings and special access panels. Otherwise, two suppliers may price different amounts of site work under the same ceiling area.
Compare the installed scope, not a tile-only unit price
There is no dependable rule that clip-in always costs a fixed percentage more, or that lay-in is always cheaper over the life of a building. A panel-only quote cannot settle that question.
Ask both suppliers to price the same layout and list what is included: panels, carriers or T-grid, suspension components, perimeter trims, retention parts where specified, acoustic backing, special openings, removal tools and spares. Keep delivery and installation scope explicit.
Then ask the installer to identify the labor differences for your layout. A simple field of standard tiles is not the same job as a narrow corridor with repeated borders and service interruptions. Separate any saving from reusing an approved existing grid from the price of the new tiles.
Finish the comparison with maintenance. If access is frequent, include a removal demonstration and the proposed spare-tile arrangement in the evaluation. A lower purchase price is less useful when the first replacement requires an unidentified edge profile or a discontinued finish.
Turn factory capability into checks you can approve
Likton’s aluminum ceiling tile range lists clip-in and lay-in styles with plain and perforated options. That gives buyers alternatives to discuss, but the useful next step is a confirmed configuration, not an order based on the product photograph.
For a Likton quotation, use the sample review to settle the folded edge, matching support, perforation layout and finish. Ask for the agreed details to appear on the order documentation. For perforated tiles, include the unperforated edge margin and backing specification so that the production sample represents the intended finished panel.
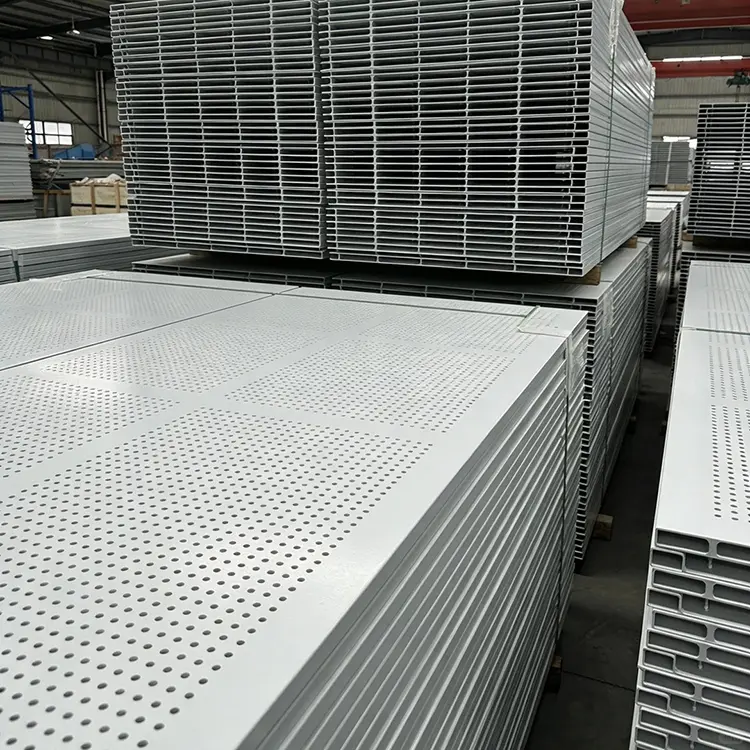
Before shipment, request close-ups of the batch’s edges, corners and packing protection, not only a distant view of stacked cartons. Confirm how different panel types and finish batches will be identified. Keep spare tiles labeled with the matching drawing and finish code, and agree the spare quantity against the layout rather than applying an unexplained percentage.
These checks connect manufacturing to the buyer’s actual risks: a damaged engagement edge, a mixed border panel or a replacement that looks different under the room’s lighting.
Questions worth settling before the order
Can I replace lay-in tiles with clip-in tiles and keep the grid?
Do not treat that as a direct tile swap. The two systems commonly rely on different edge-and-support arrangements. Ask the supplier and project designer to assess the existing system. Retain it only where an explicitly approved combination has been identified.
Does clip-in need a special tool for every panel?
Not necessarily. Removal details can differ between systems and between the first tile and adjacent tiles. Request the instructions for the exact product, including perimeter and cut panels. Do not substitute a generic video or pry at an unidentified panel edge.
Is a concealed metal ceiling airtight or suitable for a cleanroom?
A concealed grid does not establish either property. Where leakage control or a controlled environment matters, specify the required system performance and supporting documentation, including joints, seals, penetrations and access arrangements. Ordinary close-fitting tiles are not proof of a tested sealed ceiling.
Is clip-in quieter than lay-in?
The fixing name is not an acoustic rating. Compare test data for the proposed panel, perforations, backing and ceiling assembly. Also clarify whether the problem is echo within the room or sound passing between spaces; those are different requirements, as explained in Metal ceiling installation reference. Do not transfer a published result from another manufacturer’s configuration to a Likton tile.
Does an aluminum ceiling tile’s fire classification cover the whole ceiling?
Do not make that assumption. A material’s surface-burning classification and the fire resistance of a complete assembly answer different questions; Metal ceiling installation reference explain the distinction. Have the project consultant identify what evidence is required for the actual configuration, including backing and penetrations. Neither “metal” nor “clip-in” supplies that evidence on its own.
Send a quotation brief that allows a real comparison
Use the following brief for either system. It lets the supplier identify missing decisions before they turn into site work.
| Include in the inquiry | What it helps the supplier check |
|---|---|
| Ceiling layout with dimensions and the required finished appearance | Module arrangement, borders and visible grid requirements |
| Service positions and known access restrictions | Removal route, special access panels and coordination needs |
| Existing tile and support details, if retaining a ceiling grid | Whether a compatible replacement is available |
| Preferred panel finish, perforation and required performance evidence | The exact sample and documentation to submit |
| Quantities split into full, border and special panels | What is being priced and what remains site work |
| Delivery destination, packaging needs and spare-panel plan | Shipment scope, identification and replacement arrangements |
For a project-specific comparison, send Likton the ceiling layout and access requirements and ask for the proposed panel-and-support combination to be identified in the quote. Approve the fit, removal method and finish together. That is a firmer basis for choosing clip-in or lay-in than appearance or tile price alone.